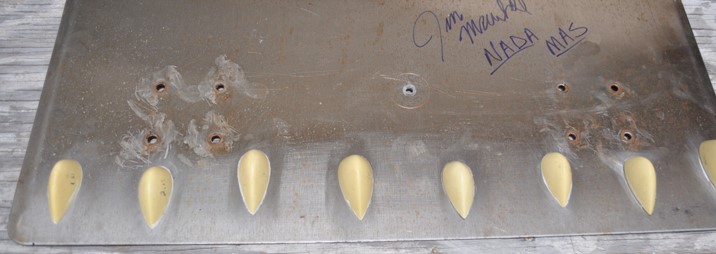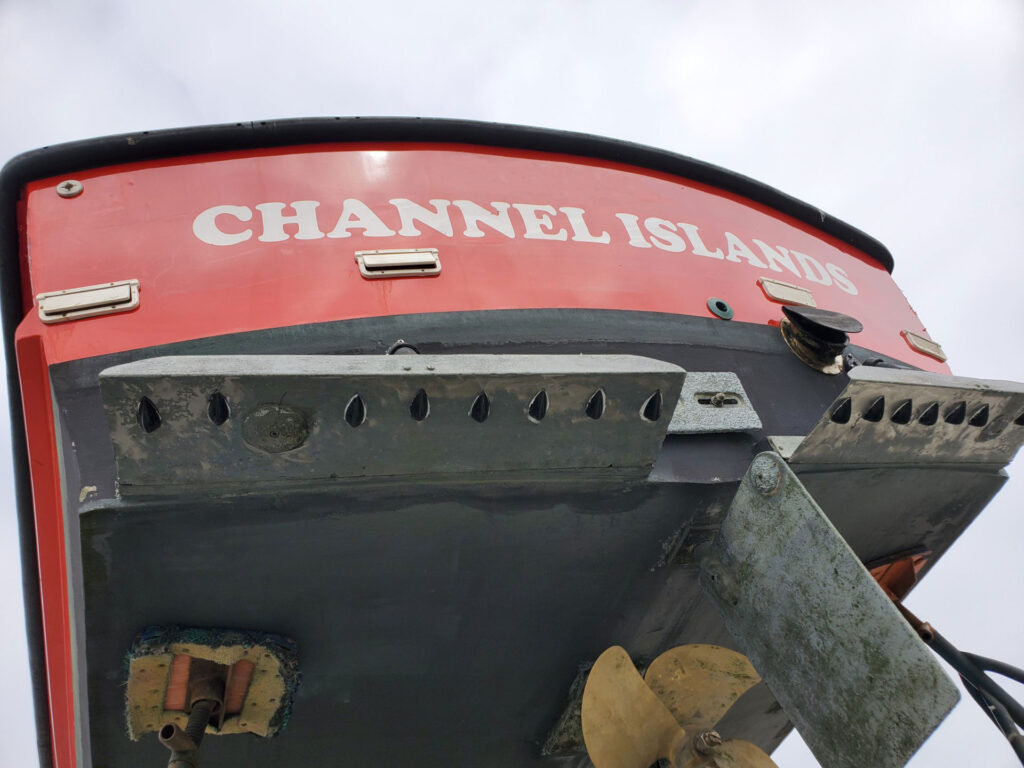
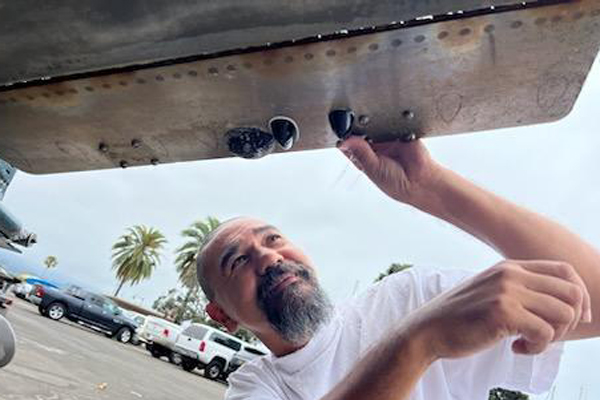
Aquahance Pods as installed on a pair of 36″ trim tabs of a 26′ planning hull vessel. Note workaround zincs.
What’s Needed
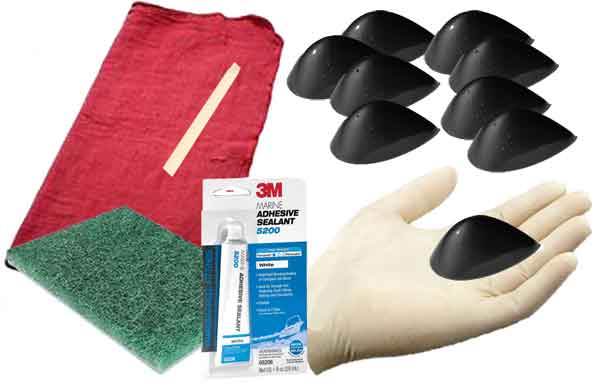
- AquaHance Pods
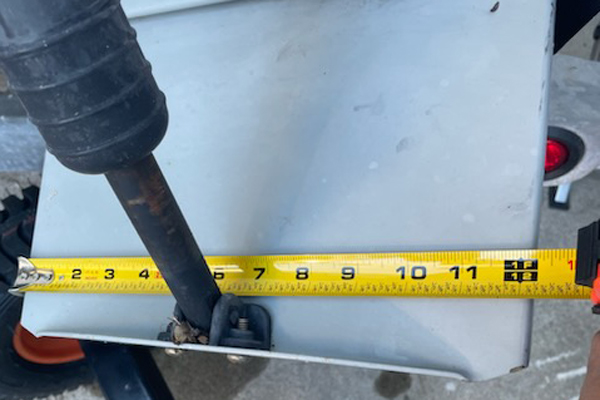
- Template – Stencil for marking Pod placement measured at 4” intervals.
THE FOLLOWING IS NOT INCLUDED WITH YOUR PURCHASE: - Sealant. 3-M 5200 recommended
- Stir stick to apply sealant
- Gloves to protect hands from sealant.
- Cleaning agent, such as acetone
What Comes with Your Purchase from Aquahance
6 Pods = 24″ Hull Span or 2×12″ Trim Tabs
10 Pods = 36″ Hull Span or 2×18″ Trim Tab
12 Pods = 48″ Hull Span or 2×24″ Trim Tab
16 Pods = 60″ Hull Span or 2×30″ Trim Tab
18 Pods = 72″ Hull Span or 2×36″ Trim Tab
22 Pods = 84″ Hull Span or 2×42″ Trim Tab
24 Pods = 96″ Hull Span or 2×48″ Trim Tab
28 Pods = 108″ Hull Span or 2×54″ Trim Tab
32 Pods = 120″ Hull Span or 2×60″ Trim Tab
36 Pods = 144″ Hull Span or 2×72″ Trim Tab
Boat Out of Water Installation
- Clean surface (underside of trim tab and/or hull) where AquaHance Pods to be installed.
- Tape template in place. If on trim tab place across trailing edge, with point of Pod toward rear, and the bulbous shape toward front of boat. If on hull, please contact us for advice.
- Trace Pod placement using marking pen.
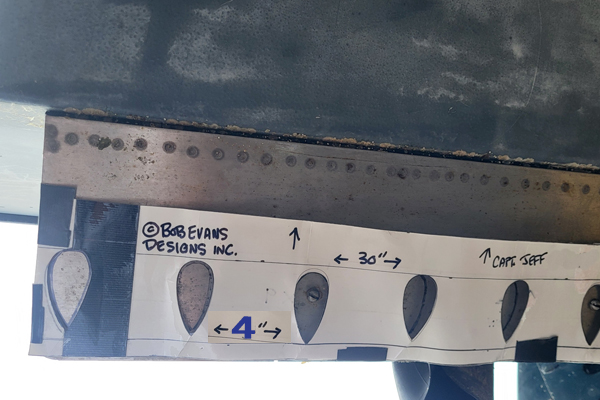
Template is a stencil that marks Pods placement at 4” interval for pods – staggered to facilitate water acceleration between Pods. It assumes clear span across the installation area. If there is a zinc, bolt, or any other obstruction, you will need to line up template to span either side of the obstruction.
- Remove Template.
- Put on gloves to protect your hands from sealant.
- Squeeze sealant onto dip stick.
- Apply sealant onto Pod flat base.
- Place and push pods with placement identified by stencil markings.
Best if Pods are placed slightly staggered to facilitate water flow.